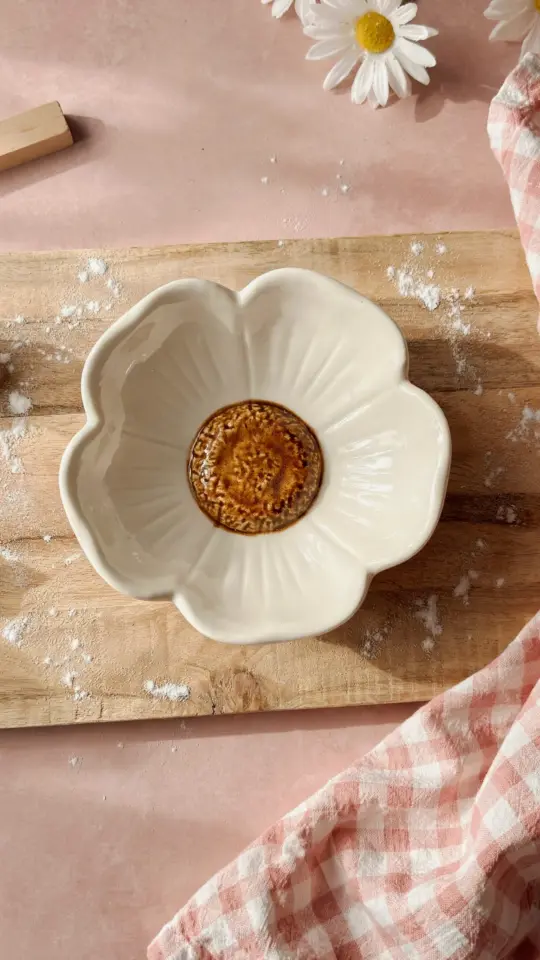
There is something about spring that makes me want to get my hands dirty and create with my hands. But buying cute planters from the store can add up fast. That is why I love this air dry clay daisy planter project – it costs a fraction of the price and looks just as charming. Whether you are a seasoned crafter or a total beginner, this easy DIY flower pot idea will brighten your windowsill or garden table without breaking the bank.
Why This Air Dry Clay Project is Perfect for Spring
Spring is all about new growth, fresh colors, and bringing life back into our spaces. A handmade planter fits that mood perfectly. Air dry clay is one of the most forgiving and affordable materials you can work with. A small block costs a few dollars, and you probably already have the basic tools at home.
This specific daisy planter shape feels playful and nostalgic without looking childish. It works equally well for a succulent on your desk or a small herb on your kitchen counter. Plus, because you sculpt and paint everything yourself, you get exactly the color palette you love.
What You’ll Need to Make a DIY Daisy Planter
Keep your shopping list short. You do not need fancy tools or expensive paints. Here is what I used for my budget-friendly version:
- One standard block of white air dry clay (about 500g or 1 lb) – you can find it at most craft stores or order online for under $10.
- Acrylic craft paints in your chosen colors – dollar store paints work fine.
- A small paintbrush and a clear sealer (mod podge or a simple acrylic varnish).
- Rolling pin or a glass bottle, a butter knife, and a small bowl or cup as a mold for the pot.
- Optional: a pencil or skewer for detail lines, and a tiny bit of sandpaper for smoothing.
That is really all you need. No kiln, no oven, no special equipment. This is a true diy garden project that respects your wallet and your time.
Step by Step: Sculpting the Daisy Shape
The key to a clean daisy planter is working in stages. Start by rolling your clay into a flat slab about a quarter inch thick. Use a bowl or a small cup as a guide to cut a circle for the base of the pot. Then press the clay into the same bowl to form the walls, smoothing the inside with your fingers.
Next, create the petals. Roll small oval shapes and flatten them slightly. Attach each petal to the outside of the pot starting at the bottom and working upward. Overlap them a little so they look like real daisy petals. Use a bit of water on your finger to blend the seams if they crack. Let the whole thing dry for 24 to 48 hours depending on humidity. Patience here pays off – a thorough dry keeps the planter from warping later.
Painting and Sealing Your Clay Pot
Once your daisy planter is bone dry, lightly sand any rough edges with fine sandpaper. Then paint the petals. I went with a soft yellow center and white petals, but pink, lavender, or even two-tone petals look fantastic. Acrylic paint adheres well to air dry clay without primer. Two thin coats give you even coverage.
After the paint dries completely, apply a clear sealer. This step is not optional if you plan to put soil or water in the planter. Sealing protects the paint and makes the clay slightly more water resistant. Brush on one coat inside and out, then let it cure for a full day before adding a plant.
Best Plants for Your Faux Daisy Planter
Because air dry clay is porous and not completely waterproof, stick with plants that do not need constant moisture. Succulents like echeveria, haworthia, or small aloe are ideal. They tolerate dry soil and shallow roots. Herbs such as thyme, rosemary, or small basil cuttings also
#airdryclay #daisyplanter #springcrafts #diygarden #planterideas
Leave a Comment