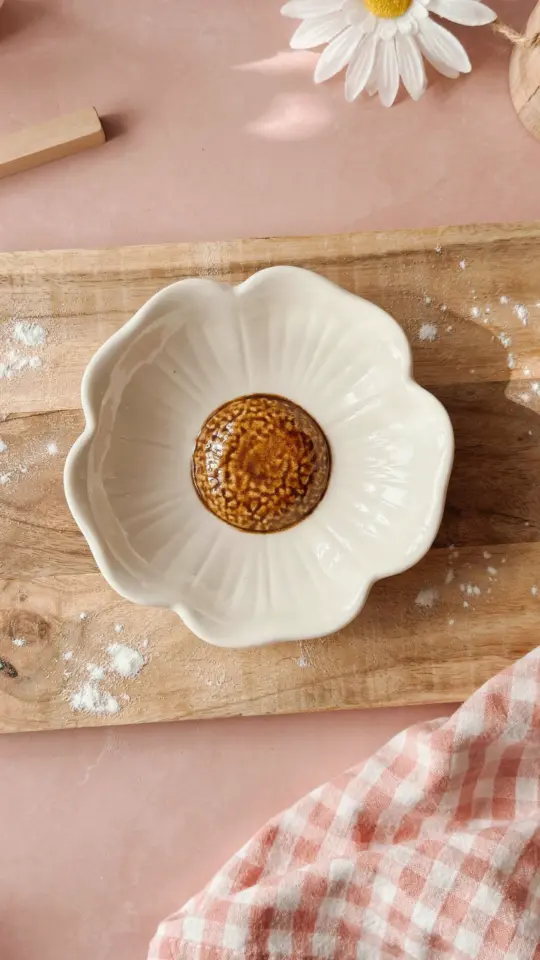
If you have ever wanted to try clay crafting but felt intimidated by kilns or expensive tools, this air dry clay daisy planter is the perfect project to start with. I made my first one last spring and it was so simple that I ended up making three more for friends. The best part? You do not need any prior experience. Just some self-hardening clay, a few household items, and a free afternoon. By the end of this tutorial you will have a charming marguerite flower pot that looks right at home on a sunny windowsill or patio table. It works beautifully for succulents, small indoor plants, or even as a cute catch-all for keys and coins.
Why Air Dry Clay is Perfect for Spring Garden Crafts
Spring garden crafts should feel light, fresh, and forgiving. Air dry clay fits that description perfectly. You can shape it with your hands, carve details with a toothpick, and let it harden on its own without any special equipment. No firing, no kiln, no complicated chemistry. That is why it is my go-to material for beginners. The clay dries to a sturdy, matte finish that takes paint beautifully. And because it is water-based, you can re-wet it slightly if your edges crack while working. For a daisy planter, this flexibility is a lifesaver when you are sculpting thin petals.
Gathering Your Materials for This Daisy Planter Project
Before you start, collect everything you need. Most items are probably in your kitchen or craft drawer already. Here is the short list:
- One package of air dry clay (white or light gray works best for painting)
- A small, shallow bowl or plastic container to use as a mold for the pot base
- Plastic wrap or a silicone mat to keep the clay from sticking
- A rolling pin or smooth bottle to flatten the clay
- A toothpick or skewer for carving petal lines and drainage holes
- Acrylic paint and a small brush (optional, but gives a polished look)
- A clear sealer or varnish if you want a water-resistant finish
That is really all you need. You do not need a pottery wheel or expensive tools. I used a yogurt container as my mold and it worked perfectly. The key is finding a container that is slightly larger than your intended pot size so you can line it with clay.
Step-by-Step: Shaping the Clay Pot Base
Start by kneading your clay for about two minutes until it is warm and pliable. Roll it out to about a quarter-inch thickness. If you make it too thin, the pot will be fragile. Too thick, and it will take forever to dry. Aim for a consistent slab that can hold its shape. Next, drape the clay over the outside of your chosen mold (the bowl or container that you wrapped in plastic wrap). Press the clay firmly against the sides and bottom, smoothing out any air bubbles. Trim the top edge with a knife or a toothpick so it is even. Then carefully remove the container – the plastic wrap will help the clay release without tearing. Let the clay shell sit for 30 minutes to firm up before adding the daisy details.
How to Create the Daisy Petal Details
This is where the planter really becomes a daisy planter. Roll a small ball of clay and flatten it into a circle about the size of a quarter. That will be the center of the flower. Then roll small teardrops for petals – you will need about eight to ten per flower. Attach each petal around the center circle, pressing lightly to fuse the back edges. Use a toothpick to score the surface of the pot where you want the flower to sit, then press the whole daisy onto the pot. Repeat this for as many flowers as you like. I usually put one large daisy on the front and two smaller ones near the rim. Do not forget to poke a small drainage hole in the bottom of the pot using the toothpick. If you skip this step, any plant you put inside might rot.
Tips for Drying and Finishing Your Clay Planter
Once your design is complete, set the planter on a flat surface in a warm, dry spot away from direct sunlight. Air dry clay shrinks slightly as it cures, so avoid moving it too much. Depending on the thickness, drying takes anywhere from 24 to 48 hours. You will know it is ready when the clay feels cool to the touch and sounds hollow if you tap it gently. Do not rush the process with a hairdryer or oven, because uneven heat can cause cracks. After drying, you can sand any rough edges with fine-grit sandpaper. Then paint your daisies – I use bright white for the petals and a sunny yellow for the centers. Seal the whole piece with a clear waterproof sealer if you plan to keep it outdoors. A coat of sealer also makes the surface easier to wipe clean.
Planting Ideas for Your Finished DIY Clay Pot
Because the planter is made from air dry clay,
#airdryclay #daisyplanter #springdiy #clayplanter #gardencrafts
Leave a Comment