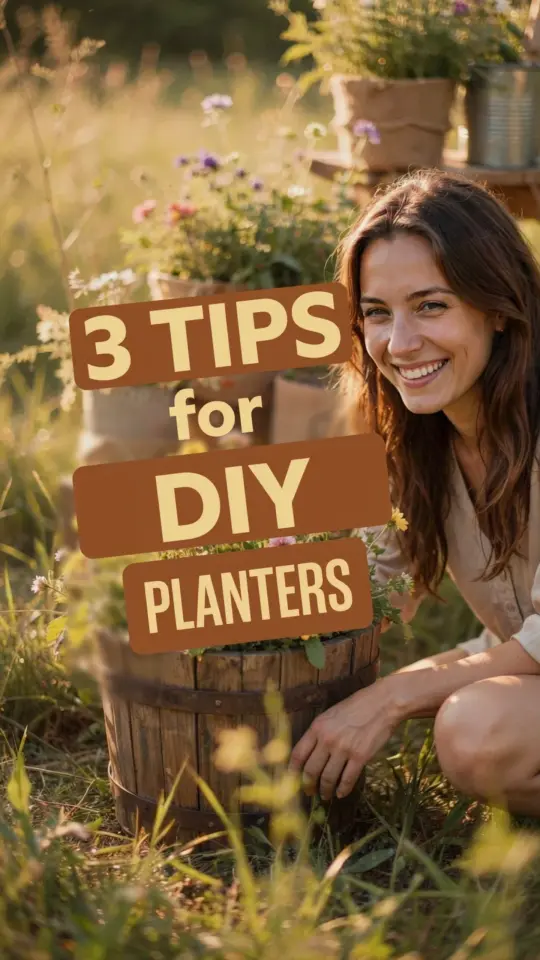
Why Thrift Store Finds Make the Best DIY Planters
If you have ever walked past a dusty shelf at a thrift store and wondered if that chipped teacup or old metal bucket could become something more, the answer is yes. DIY planters are one of the most satisfying ways to combine creativity with budget gardening. Instead of buying new plastic pots from the big box store, you can grab a mismatched mug, a worn wooden crate, or a vintage tin for under two dollars. That is the real joy of upcycled planters: you save money and reduce waste at the same time.
I have made planters from old colanders, enamelware mugs that lost their handles, and even a broken birdcage. Each piece tells a story, and the plants seem to thrive in containers that have a history. The key is to look for materials that are solid and can hold soil without leaking too much (or that you can seal easily). Avoid containers that previously held chemicals or toxic substances unless you are confident you can clean them thoroughly.
Budget Gardening Tools You Already Own
Before you start hunting for containers, take a quick inventory of what you have at home. Budget gardening does not require a shed full of specialized equipment. A drill, a hammer, a sharp knife, and a pair of pliers will handle most conversions. For drainage holes (essential for almost every planter), you can use a drill with a masonry bit for ceramic or a standard bit for plastic and metal.
If you do not own a drill, a nail and a hammer work fine for thin metal or plastic. Just punch several holes in the bottom. For glass jars, you can add a layer of pebbles at the bottom instead of drilling, though that is a bit riskier for root rot. I prefer to drill whenever possible because it gives better drainage, and that keeps your plants healthier long term.
- Tin cans – remove the label, punch holes, and paint or leave them raw.
- Old mugs – perfect for small succulents or herbs on a windowsill.
- Wicker baskets – line them with a plastic bag or coco liner to hold soil.
- Plastic containers – yogurt tubs, takeout boxes, and detergent bottles work after a good rinse.
- Broken pottery – use the intact shards as mini planters, or mosaic them onto a base.
How to Prep Thrifted Containers for Plants
Once you bring your thrifted treasures home, give them a thorough cleaning. Soap and hot water remove dust and grime, but for items that might have held food or unknown substances, a quick soak in diluted bleach water (one part bleach to nine parts water) is smart. Rinse well and let everything dry completely before you start drilling.
Next, think about paint. Spray paint designed for plastic or metal dries quickly and gives a uniform look. If you prefer a natural patina, leave the container as is. I often use chalk paint on ceramic mugs because it adheres well without primer. For wooden crates or boxes, sand rough edges and apply a food-safe sealant if you plan to grow edibles. That little bit of prep makes your upcycled planters last through several seasons.
Simple Upcycled Planter Ideas Under Five Dollars
One of my favorite projects is turning a tin can into a hanging planter. Remove the label, paint the outside, punch two holes near the top rim on opposite sides, and thread a piece of twine or wire through. Hang it on a hook or a branch. Total cost: maybe fifty cents for the can (if you buy a soup) and a few cents for twine.
Another cheap idea uses single-use plastic water bottles. Cut them in half, turn the top half upside down into the bottom half, and you have a self-watering planter. Fill the bottom with water, put soil in the inverted top, and plant a small herb. You can decorate the bottle with washi tape or acrylic paint. That project costs basically nothing and teaches kids about capillary action.
A third idea: use an old pair of rain boots. Drill holes in the soles, stuff with landscape fabric, fill with soil, and plant trailing flowers like petunias. The boots look cute on a porch step and last a couple of years if you bring them inside during heavy frost. Thrift stores often sell rain boots for two or three dollars.
Garden Crafts That Hide Everyday Materials
Some of the best garden crafts are about making the ordinary look intentional. For example, you can take a plastic milk jug, cut off the top half, and paint the bottom half to look like a terracotta pot. Add a coat of matte finish spray, and nobody will guess it was once a milk container. That trick works for opaque detergent bottles too.
Another craft that impresses visitors is the hypertufa trough made from a cardboard box mold. Mix one part Portland cement, one part peat moss, and one part perlite, add water to a stiff dough, and press it into a cardboard box lined with plastic. Let it cure for 24 hours, peel away the box, and you have a lightweight stone planter that mimics expensive garden urns. The materials cost about ten dollars total, and you can make three or four planters from one batch. That is real budget gardening at its best.
#DIYPlanters #GardenCrafts #UpcycledPlanters #BudgetGardening #PlanterIdeas
Leave a Comment