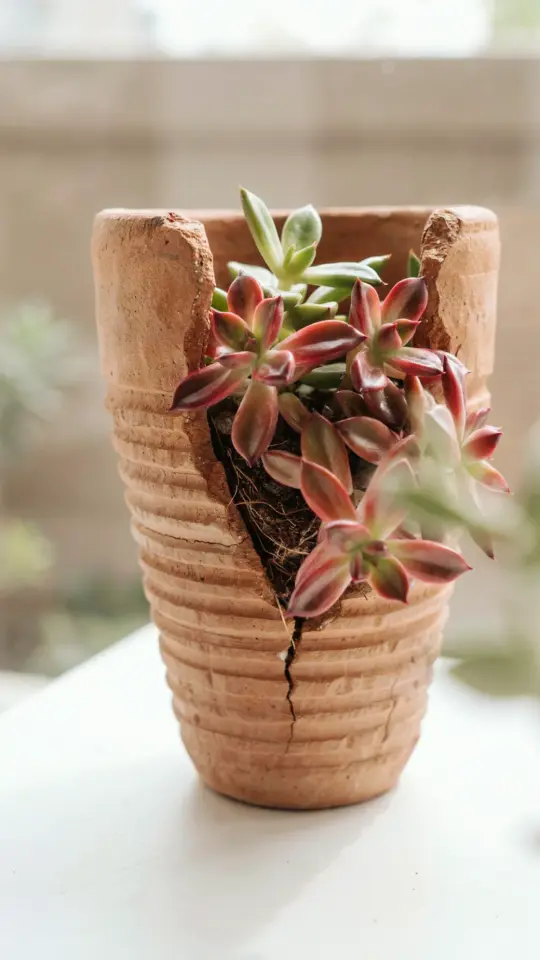
If you love the look of a tiny desert garden but worry your apartment has no room, you are not alone. DIY succulent planter ideas are everywhere on social media, yet many beginners end up with sad, mushy plants or cracked pots. The truth is, making a beautiful succulent planter is not hard once you know the pitfalls. This guide walks you through the most common mistakes people make when crafting these indoor garden projects and shows you exactly how to skip the frustration. Whether you are using recycled tins, terracotta pots, or thrifted teacups, these practical tips will help your succulents thrive in any small space.
Choosing the Wrong Container for Your Succulent Planter
One of the first mistakes new plant parents make is picking a container based only on looks. That adorable ceramic mug or glass jar might look perfect on your shelf, but if it has no drainage hole, your succulent will likely drown. Succulents hate sitting in wet soil more than almost anything else.
The fix is simple. Look for containers with at least one drainage hole. Terracotta pots are classic for a reason, they let the soil dry out evenly. If you fall in love with a container that has no hole, you can drill one yourself using a ceramic bit. Another safe workaround is to use the container as a cachepot. Place a smaller pot with drainage inside the decorative vessel. This way you get the look you want without risking root rot.
For small spaces, think vertically. A hanging mason jar or a wall-mounted tin can works beautifully, just add a layer of pebbles at the bottom to keep the roots away from standing water.
Ignoring Drainage Layers and Soil Type
Even with a drainage hole, many DIY succulent planters fail because people skip proper soil. Regular potting mix holds too much moisture. It compacts around the roots and causes rot. I have seen beautiful planters turn into mush within two weeks because the creator used garden soil.
Use a gritty, fast-draining cactus and succulent mix. You can make your own by combining equal parts potting soil, coarse sand, and perlite. A layer of small gravel or pebbles at the bottom of the container is not a substitute for drainage holes, but it does help prevent the soil from washing out and adds a bit of airflow.
When you water, the excess should flow out freely. If you notice water pooling on top of the soil after a few seconds, your mix is too dense. Please repot it right away. Succulents forgive most mistakes but they cannot forgive suffocated roots.
Overwatering Your Small Space Garden Crafts
This mistake kills more indoor succulents than anything else. People see the soil looking dry on top and pour water, not realizing the bottom is still wet. In small planters especially, water sits closer to the roots and evaporates slowly.
Here is the rule I follow every time: only water when the soil is completely dry. Stick your finger about an inch deep. If it feels dry, water thoroughly. If it feels damp, wait. In winter or low light, you might water only once every two to three weeks. Use a narrow-neck watering bottle or a squeeze bottle to direct water exactly to the soil, not onto the leaves. Water trapped between leaves can cause rot and fungus.
If you are making a terracotta pot planter, remember that terracotta wicks moisture away from the soil, so you may need to water a bit more often than with glazed pots. Pay attention to the weight of the pot. A light pot means dry soil.
Placing Your Succulent Planter in the Wrong Light
Succulents love bright, indirect sunlight. A common mistake is putting them on a desk in a dim corner or directly on a hot windowsill. Too little light makes them stretch out and lose color. Too much direct sun can scorch the leaves, especially if the planter is behind glass.
For small spaces, east-facing windows are ideal. Morning sun is gentle. South or west windows can work if you pull the planter back a few feet or use a sheer curtain. I keep my favorite DIY planters on a bright shelf near the window, not right on the sill.
Rotate the planter every week so all sides get equal light. This prevents your succulent from leaning toward the window. If you notice pale, leggy growth, move the planter to a brighter spot. If leaves turn brown or crispy, move it farther from the glass.
Crowding Too Many Plants in One Container
When you see a beautiful succulent arrangement online, it often has many plants packed tightly together. That look is pretty for a week or two, but soon the plants compete for space and water. Crowded succulents grow poorly and are more prone to pests.
Give each plant room to breathe. A general rule is to leave at least one inch of space between the leaves of different succulents. For tiny rosette types like Echeveria, that means using a container that is at least four to six inches wide for three plants.
If you really want a full look, choose fast-growing succulents like Sedum or Graptopetalum that spread naturally without getting leggy. Or use the planter as a temporary arrangement. Group several small pots inside a larger decorative box and swap them out as they grow. This keeps your indoor garden crafts looking fresh and your plants healthy.
Using the Wrong Glue or Materials for Decorations
Part of the fun of DIY succulent planters is adding pebbles, moss, or small figurines. But many crafters accidentally use hot glue or spray adhesives that release fumes harmful to plants. Others glue pebbles directly over the soil, sealing the surface and
#succulentplanter #diyplanters #indoorgardening #gardencrafts #smallspacedecor
Leave a Comment