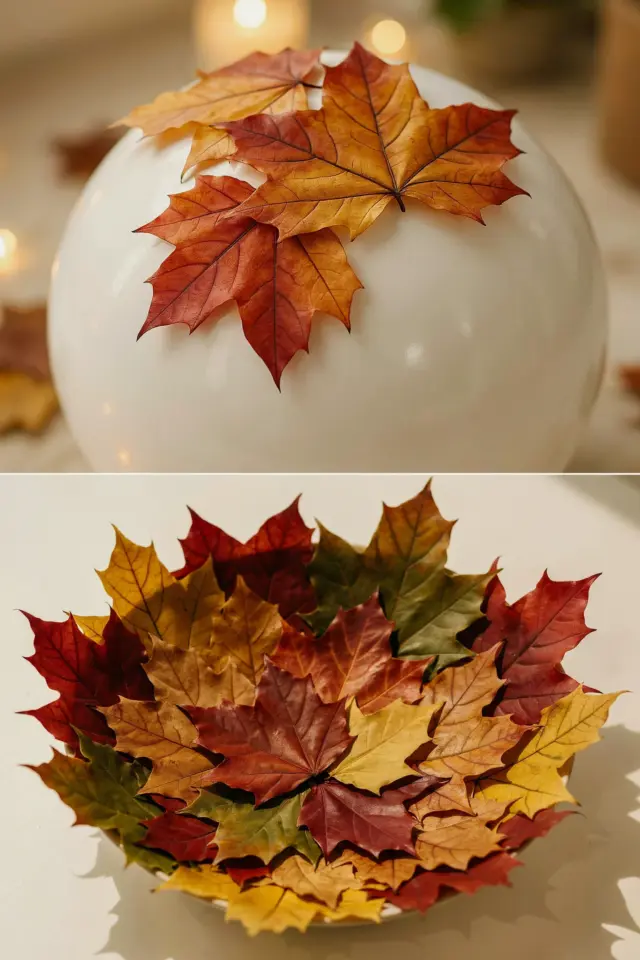
Why I love using real autumn leaves for decor
Every fall, I find myself drawn to the same ritual. I walk my yard with a basket and scoop up the brightest maple leaves and the deepest red oak leaves. That simple act is where these fall leaf crafts always begin. It is not about buying expensive supplies. It is about noticing the small changes outside my door and bringing that beauty inside for a few more weeks.
The first time I tried a leaf garland, I was skeptical. Would the leaves just crumble by dinner? But I learned that if you pick them at the right stage (still flexible, not brittle) and press them lightly overnight, they last much longer than you expect. Now I make multiple projects each season, and I want to share what actually worked for me.
How to gather and prepare leaves for crafting
Before you jump into any project, you need good material. Here is exactly what I do. I collect leaves on a dry afternoon, right after the morning dew has evaporated. Wet leaves mold quickly. I aim for leaves that are still mostly flat, not curled up. Red maple, sugar maple, and sweet gum leaves hold color well. Oak leaves are sturdy but can be tricky to glue flat.
Once home, I sort them by color and size. Then I press them between sheets of newspaper under a stack of heavy books for 24 to 48 hours. That is enough time for most leaves to dry flat but not become brittle. For projects that need flexible leaves (like wreaths), I skip pressing and use them within a few hours of picking.
- Pick dry leaves on a sunny day, not after rain.
- Avoid leaves with spots or holes unless you like the rustic look.
- Press between newspaper under books for 1 to 2 days for flat projects.
- Store pressed leaves in a sealed zipper bag if you are not crafting right away.
Easy DIY leaf garland for your porch
I made my first leaf garland three years ago, and it is still my favorite diyddecor project. I used a long piece of jute twine and a hot glue gun. I laid out my pressed leaves in a pattern: a red maple, then a yellow birch, then an orange oak. I glued each leaf by its stem to the twine, leaving about two inches between each.
The trick is to glue only the stem and a tiny bit of the leaf base. If you glue the whole leaf, it will crack when the twine bends. I hung the garland on my porch railing, and it lasted three weeks without falling apart. It looked cheerful even on gray days. You can also drape it over a mirror or along a mantel.
Pressed leaf art that lasts all season
Pressed leaf art is one of the simplest autumncrafts I have tried, and it honestly looks like something you would buy in a boutique. I take a few of my flattest pressed leaves and arrange them inside a simple white frame with a piece of cream cardstock behind them. No glue needed if the frame presses the glass against the leaves.
For a more durable version, I use mod podge. I brush a thin layer on the back of each leaf and stick it to the cardstock. Once dry, I apply another light coat over the front to seal the color. I have done this with a collection of small ginkgo leaves and a single large maple. Both look beautiful on a side table. The key is to use leaves that are fully dry but not crumbly.
Making a rustic leaf wreath in 20 minutes
This is my go to gardencrafts project for a quick weekend afternoon. I start with a plain grapevine wreath base from the craft store (or you can make one from twigs). Then I gather fresh leaves, not pressed, because they need to bend around the wreath. I tuck each leaf stem into the vines, layering them in one direction all the way around.
No glue, no wire. The leaves hold themselves in place if you push the stems deep enough. I add a few small acorns or dried berries for texture. This wreath looks full and organic. It does not last forever, but for about two weeks it looks vibrant on my front door. When the leaves start to curl, I just pull them off and replace them with new ones.
Creative ways to display leaves on tabletops
One of the easiest naturecrafts is a simple table runner made entirely of leaves. I scatter a mix of whole leaves and leaf confetti (made by cutting leaves into small shapes with scissors) down the center of a wooden table. It creates a natural autumnal path without any glue or assembly. You can add a few small pumpkins or candles between the leaves.
Another idea I love is filling a clear glass vase or mason jar with loose leaves. Just stuff the leaves inside until the jar is full, then set it on a windowsill. The light shines through the colors. It costs nothing and takes thirty seconds. For place settings, I write guest names on small yellow leaves with a fine tip marker and lay them on each plate. They look personal and seasonal.
Tips to preserve color and prevent crumbling
I have ruined plenty of
#fallleafcrafts #diyddecor #autumncrafts #gardencrafts #naturecrafts
Leave a Comment