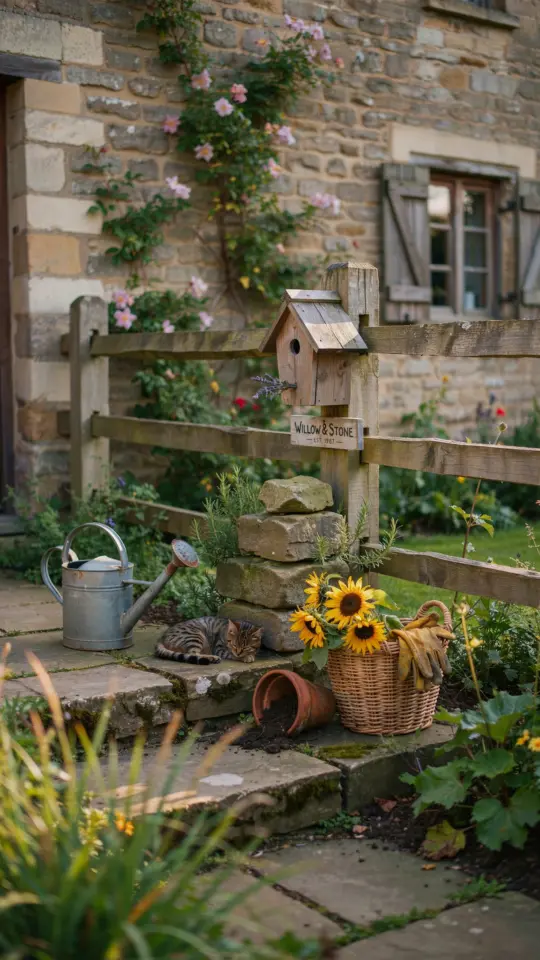
Spring is finally here, and if your yard feels a little bare, I have good news. You don’t need a big budget or fancy tools to make it look charming. Garden crafts for outdoor decor are my favorite way to add personality without spending a lot. Last weekend I turned a cracked flower pot and some leftover paint into a planter that looks like it cost thirty dollars. It cost me about four. This kind of project is perfect for anyone who wants a fresh, welcoming yard without the sticker shock. Below I will share five simple, affordable DIY projects that work for spring gardening season whether you are a total beginner or a seasoned crafter.
DIY Painted Terracotta Pots on a Dime
Terracotta pots are cheap, but plain orange can feel a little dull. A coat of paint changes everything. I like to pick up a three-pack at the dollar store for a few bucks. Use acrylic craft paint and a foam brush to cover the outside. Two thin coats work better than one thick coat because it prevents drips.
For a modern look, try painting only the rim or adding horizontal stripes with painter’s tape. If you want something more playful, dip the bottom edge into a second color while the base layer is still tacky. Let it dry, then seal with a matte spray sealer so it holds up to rain. Here is what you will need:
- Small terracotta pots (any size)
- Acrylic craft paint in your chosen colors
- Foam brushes or a small sponge
- Painter’s tape (for stripes)
- Clear matte sealer (optional but recommended for outdoor use)
I once made a set of three pots with a navy base and a thin gold stripe. They sit on my front steps with mint plants. Total cost: under eight dollars.
Build a Rustic Birdhouse for Less Than $10
Store-bought birdhouses can run twenty dollars or more. But you can build one from scrap wood or a repurposed wooden crate. Look for untreated pine or cedar pieces at a hardware store. Ask if they have offcuts. Sometimes they give them away for free. You only need four sides, a bottom, a roof, and a small entrance hole.
I am not a skilled woodworker, so I keep it simple. I cut a square bottom (5 inches by 5 inches), four side pieces about 6 inches tall, and two roof pieces that overlap. Drill a 1.5 inch hole near the top of one side for the entrance. Nail everything together, add a screw hook on top for hanging, and paint the roof a bright color. Birds do not care about paint color, but I think a red or blue roof looks cheerful. Hang it from a tree branch or a shepherd’s hook. This project takes about an hour and costs almost nothing if you already have a hammer and nails.
Mosaic Stepping Stones from Broken Dishes
I dropped a ceramic mug last winter, and instead of throwing it away I saved the pieces. That became the start of my mosaic stepping stone. You can buy a plain concrete stepping stone at the home center for about three dollars. Or you can make your own with a plastic tray and quick-set concrete mix for even less.
Break old plates or cups wrapped in a towel with a hammer. Wear safety glasses. Arrange the pieces on the wet concrete before it dries completely. Press them in gently so they are level. Let the concrete cure for 24 hours, then fill the gaps with grout. Wipe off the excess with a damp sponge. The result looks expensive and handmade. I made one with blue and white pieces that matches my patio table. It cost me roughly five dollars and saved a broken dish from the landfill.
Upcycled Planters from Thrift Store Finds
Thrift stores are gold mines for planter bases. Old colanders, tea kettles, metal buckets, even wooden drawers can become planters. Drill three or four small drainage holes in the bottom with a drill bit. If the item is metal, use a bit designed for metal. If it is wood, a regular bit works fine.
I found a vintage enamel colander at a garage sale for two dollars. It has a cute blue stripe and a handle. I planted trailing ivy in it and hung it on a hook by my back door. Another time I turned an old wooden toolbox into a long planter for herbs. I lined it with a plastic bag before adding soil so the wood would not rot too quickly. Thrift store planters have character. They do not look the same as every pot at the big box store. Plus you save money and keep something useful out of the trash.
Easy Spring Wreath from Garden Clippings
After pruning my shrubs this spring, I had a pile of flexible twigs. I used those to make a simple wreath for my front door. You can use grapevine, willow, or even thin branches from a bush. Soak them in warm water for an hour so they bend without snapping. Shape them into a circle and wrap the ends around each other. Use garden twine or floral wire to secure the shape.
Then decorate with whatever you have. I tucked in a few sprigs of fresh rosemary from my herb bed, a handful of dried lavender, and a couple of small paper flowers I had leftover from a craft project. Use hot glue to attach anything that will not stay on its own. This wreath costs nothing if you have shrubs and a bit of twine. It smells wonderful and looks natural, not store-bought. It will last about
#GardenCrafts #OutdoorDecor #DIYPlanters #SpringGardening #BackyardDIY
Leave a Comment