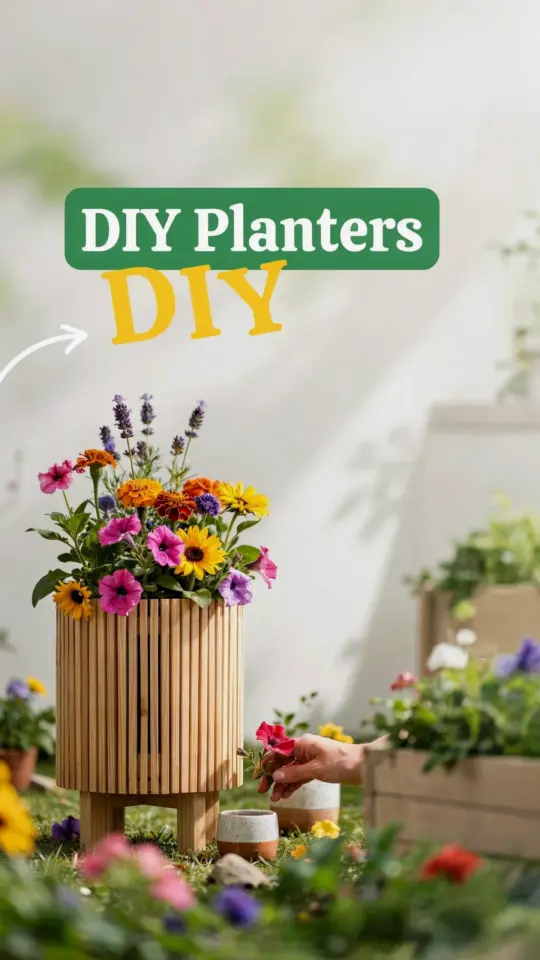
Honestly, I see it all the time. People get excited, they grab their scissors, and they just start cutting. Then they hang their DIY boho planter and it hangs crooked. Or worse, the pot barely reaches the bottom of the fringe. The biggest mistake? Cutting those macrame cords too short. It’s such a simple fix, but it saves you from ripping out knots and starting over. I learned this the hard way, and I want you to skip that frustration entirely.
Look, I’ve been there. A couple of years ago, I tried to whip up a quick planter for a friend’s housewarming party. I measured once, cut confidently, and then spent the next two hours trying to MacGyver a solution with extra string scraps. It looked terrible. So now I preach the gospel of measure twice, cut never (until you’re absolutely sure). Here’s the thing: the exact right length depends on the look you’re going for, but there are a few tried-and-true approaches you can steal from the pros.
I’m going to walk you through five different planter styles, each with a different vibe and a different cord length trick. Think of this as a little ideas roundup for your next garden crafts session. Grab your scissors, maybe a cup of coffee, and let’s get into it.
Why Cord Length Matters (Even for Tiny Pots)
Ok so, let’s talk physics for a second. Not the boring kind. The kind where your plant swings evenly. If your cords are too short, the pot sits too high and the whole thing looks stubby. Too long, and your fern scrapes the floor. I once made a planter for a tiny succulent – thought I could get away with short cords. Nope. It looked like a sad little poppy on a short stem.
Here’s a quick rule of thumb I stole from @the.woodworkers.daughter (she’s a genius with this stuff): you want the finished hanging length to be about 1.5 to 2 times the height of your pot. That gives room for the knot cluster at the bottom and some nice drape.
- For a standard 6-inch pot, plan on starting cords around 72 to 96 inches long (that’s 6 to 8 feet).
- For a wider, shallow bowl, go a bit longer – maybe 100 inches – because the spread eats up length.
- Always add 12 extra inches for knotting. You can trim the tails later, but you can’t add cord back.
Yeah, it seems like a lot. But trust me, you’d rather have a foot of extra cord dangling than a lopsided plant. Oh, and never trust your tape measure when you’re tired. I bought one that was off by half an inch once. Drove me crazy for a week.
The Classic Boho Swing: Long Tail, Big Drama
Let’s start with the most popular style: a hanging planter with a long, sweeping tail of fringe at the bottom. This is your standard macrame planter look – the kind you see all over Pinterest. The trick here is to not cut the working cords too short because the fringe needs to be generous.
For this style, I usually cut my cords at least 96 inches. Yes, eight feet. It feels excessive when you’re holding a giant skein, but the fringe needs to be at least 8 to 10 inches long to look intentional. Anything less and it looks like you ran out of string. Not gonna lie, I’ve made that mistake. My first attempt had a 3-inch fringe. It looked like a bad haircut.
So here’s what you do: take your measured cords, fold them in half, and knot them onto a ring. That fold halves the working length, so start with 16 feet if you want an 8-foot drop after folding? Wait, let me clarify: for a total finished length of about 3 feet from ring to bottom of fringe, start with 8-foot cords (doubled to 4-foot working strands, but you need extra for knots). Honestly, just cut 8 feet per cord. Add 2 more feet if you want a dramatic floor-grazing look. Got it?
This style is perfect for a plant parent who wants that breezy, airy look. I hang mine in the kitchen window, and the fringe catches the afternoon light. It’s my favorite corner of the house.
The Minimalist Two-Tier Planter: Cord Length for Balance
Now let’s talk about a more structured design – the two-tier planter. You’ve seen these: a small pot hanging below a larger one, or two identical pots stacked vertically. The challenge here is that the cords need to be long enough to accommodate both pots, but not so long that the top pot sits too low.
I found a great trick from a boho macrame planter tutorial for beginners online: cut the cords for the top pot first, hang it, then measure the drop to the bottom pot before cutting the second set. Do you see why that’s smart? No guesswork. You literally hold the second pot up to the dangling cords and mark where the knots will go.
For a two-tier setup, I recommend starting with 10-foot cords for the longer drops. Then, after you finish the top pot, you have leftover tails to weave into the bottom section. If you cut everything at once, you might find yourself six inches short when you’re halfway through. It happened to me once – I had to tie little extension strings, which looked terrible. Learn from my frustration.
Here’s a weird personal detail: I once used a piece of dental floss to MacGyver a repair because I didn’t have anymore macrame cord. Do not recommend. Just buy extra cord. It’s cheap. And saves your sanity.
The Fringe-Free Modern Boho: Clean Lines, Precise Cut
Not every boho decor fan wants fringe. Some people want clean, geometric lines – like a net or a cradle that holds the pot snug. This is a modern boho style, and it’s super chic. But the cord length mistake is different here: you can’t rely on fringe to hide imperfections.
For this style, the knots need to be tight and the cord lengths need to be almost identical. If one cord is even half an inch too short, the pot tilts. It drives me nuts. So here’s what I do: after cutting the cords, I measure them all together by aligning the ends and checking for stragglers. If one is off, I don’t re-cut the bundle – I just adjust the knot depth to compensate. It’s a little trick that saves you from starting over.
For a clean, fringe-free planter that holds a 5-inch pot, I start with 72-inch cords. That’s often plenty because you want a shorter drop – maybe 18 inches from the ring to the pot bottom. The knots will eat about 8 inches, so you end up with a tidy little hanging basket. Super clean. I love these for a modern kitchen with white walls.
Oh, and one more thing: use a lighter to singe the ends of the cords if they’re synthetic. That prevents fraying. For cotton cords, just tape the ends before cutting. Saves so much hassle.
The Extra-Long Boho Swing for High Ceilings
Alright, now we get to the brave ones: tall ceilings. My living room has a vaulted ceiling (like, 12 feet high at the peak), and I wanted a planter that would really drop down into the room. That means super long cords. Like, start with 14 to 16 feet per cord. Yes, sixteen feet. It’s a workout to wrangle that much string, but the payoff is a dramatic statement piece.
The mistake here is underestimating how much the repeated knots will shorten the overall length. Every time you tie a knot, you lose about an inch of working cord. And if you’re doing a long macrame pattern with dozens of knots, you might lose a foot or more. So I always add 20% extra to my initial cut for long projects. Better to have a pile of leftover cord than a planter that only hangs two feet.
I once made a swing planter for a friend with 9-foot cords, thinking it would be plenty for her 8-foot ceiling. Nope. The pot ended up at eye level. She had to duck to see her pothos. So we re-did it with 12-foot cords and it was perfect. Measure the ceiling height first. Then subtract the ring height, the pot height, and the bottom fringe – that’s your target drop. Then double that for the starting cord length (since it’s folded). Simple math, but so easy to forget.
Tools and Tricks to Avoid Re-Cutting Your Cords
By now you might be thinking: “Ok, I get it, cut longer. But how do I avoid the dread of redoing knots anyway?” Good question. Here are the tools and hacks I swear by for garden crafts that involve macrame.
- Use a cheap wooden dowel or a clipboard to hold your cords as you work. Keeps them from tangling and lets you see the true length.
- Mark your cord with a permanent marker at the halfway point before you start knotting. That way you know exactly where the center is.
- Never cut all four cords at once. Cut one, compare it to the pot, then cut the next. I do this even if I’m in a hurry. It’s saved me more times than I can count.
- Keep a spare 2-foot length of cord in your project bag. You might need it to fix a mistake or to tie a temporary knot while you adjust. It’s like a bandaid for macrame.
One more weird tip: if you’re using a slippery cord like nylon, make a tiny knot at the very end of each strand after you cut. That way, if you drop it, you won’t lose the tail into the macrame tangle. Yes, I learned that after a frustrating hour of untangling. You’re welcome.
Look, the biggest thing is just to go slow. Measure twice, or three times if you’re suspicious. And if you do cut too short – hey, you can always call it a mini planter and put a tiny succulent in it. But honestly, you’ll be happier if you just start with longer cords. Your plant parent friends will compliment your perfect swing, and you can smile knowing you avoided the most common rookie mistake.
So next time you pick up your scissors for a DIY boho planter, remember: longer is always safer. You can trim the fringe later. You can’t add cord. Now go make something beautiful, and don’t forget to save this page for your next garden crafts afternoon. Happy knotting!
#DIY boho planter #macrame planter #garden crafts #plant parent #boho decor
Leave a Comment