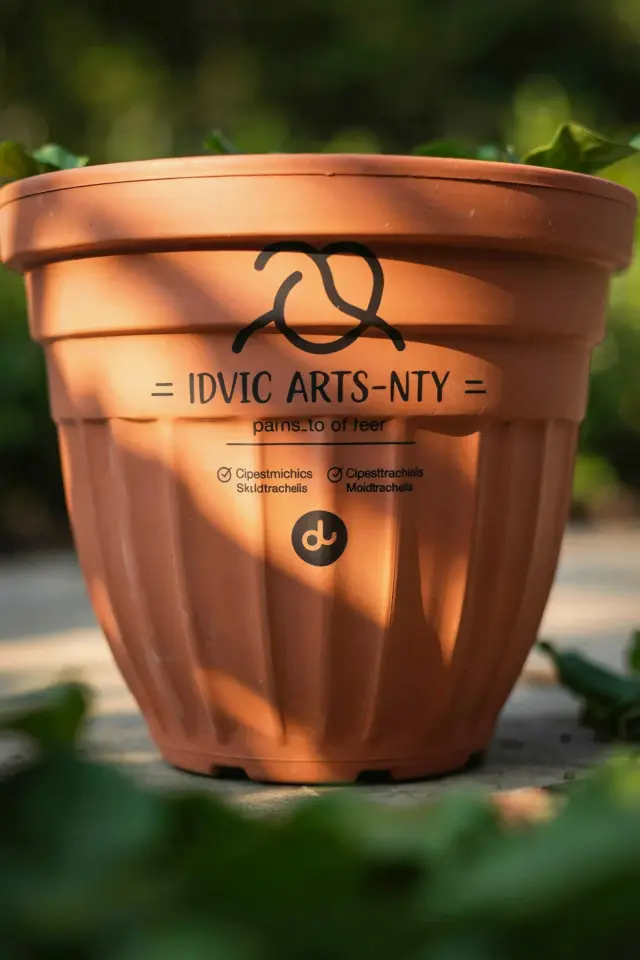
Ok so you want those sharp, geometric concrete planters you see all over Instagram, but you don’t want to drop forty bucks on a single pot. I get it. That price tag is absurd for a hunk of cement. The good news is that this concrete planter mold DIY costs a fraction of that, and honestly, it requires less skill than baking a boxed cake. This is hands down my favorite garden craft right now because a silicone mold does all the heavy lifting. You literally mix, pour, and walk away. No special tools, no carpentry skills, and no messy plywood or cardboard boxes to wrestle with. Just a flexible shape that pops right off your finished succulent pot.
Look, I have tried the cardboard box method. The one where you tape a smaller box inside a bigger box and try to get it level. It’s a disaster. The concrete seeps into the tape seams, the cardboard bends, and you end up with a lopsided cube that looks like a sad, gray house for ants. A silicone mold eliminates all that guesswork. Here’s the thing: the material is the magic. Because it’s flexible, you can leave the concrete on the mold for a full 24 hours, and it will still release without you having to hammer it out like a maniac. If you have been looking for easy succulent pots that actually look clean and professional, this is your weekend project.
## Why a Silicone Mold Beats Every Other Method
The secret here is the mold itself. It’s not a rigid plastic container that you have to pray will release. A silicone concrete planter mold has a little give to it, which means you aren’t fighting physics to get your craft out. You just peel it back. This is the huge difference between a project that takes thirty minutes of prep and a project that takes thirty minutes of chiseling concrete off your kitchen counter.
I bought the “Tic Tac” style mold off Amazon. You know, the one that looks like a giant breath mint? It was around fifteen bucks. And sure, that feels like a lot for plastic, but here’s the math. That single mold makes one large planter or two small ones. If I bought those same pots at a boutique garden store, I would be paying twenty to thirty dollars each. So really, the mold pays for itself the first time you use it.
Plus, these molds are reusable. I have made a dozen pots with mine so far, and they show zero signs of wear. The silicone doesn’t crack, and it doesn’t stain permanently, though it will get chalky over time. That’s perfect for a summer afternoon hobby. It’s literally the cheapest way to get that high-end designer look for your succulents without selling a kidney.
## The Short Supply List (You Probably Own Most of This)
Alright, let’s get down to the nitty-gritty of what you need to steal this idea. You don’t need a workshop for this. You need a table you hate, a plastic bowl, and some elbow grease.
– **A silicone mold**: Grab one shaped like a diamond, a cube, or a fluted cylinder. Just make sure it has wide openings on top.
– **Portland cement**: You can get a small bag at the hardware store for about ten bucks. This is the glue that holds everything together.
– **Perlite or sand**: This is optional, but adding perlite makes the pot lighter. If you want heavy, stable pots, just use sand.
– **Water**: Cold tap water works fine.
– **Disposable gloves**: I don’t care how tough you are, concrete is nasty on your skin.
– **Cooking spray**: This is your mold release agent if your mold is a bit sticky.
The best part about this DIY planters project is that you don’t need a drill, a saw, or a level. I’m not a handy person. If I can do this without cussing, literally anyone can. I just mix the powder in a plastic yogurt tub I was going to throw away anyway.
## Let?s Talk About the Concrete Mix (Budget Friendly and Honest)
Here is where a lot of people get stuck, but they really shouldn’t. You can spend a ton of money on specialty “hypertufa” mixes, but for a basic geometric planter, a simple mix of one part cement to one part sand is rock solid. You can use play sand from the hardware store, the cheap stuff they sell for sandboxes. That’s way easier on the budget than buying a pre-blended bag of mixer.
My recipe for a medium-sized pot is roughly two cups of cement, one cup of sand, and just under one cup of water. The goal is a consistency like thick oatmeal. You don’t want it soupy, or it will take forever to dry, and you don’t want it crumbly, or it will break in half when you unmold it. It should hold its shape if you scoop it with a spoon.
Look, I’m not a structural engineer, and I haven’t tested this mix in a lab. But I have left pots out in the snow all winter, and they’re still sitting on my porch right now. That’s good enough for me and for your succulents. Just remember to mix small batches. Dry concrete doesn’t keep well once the bag is open, so try to use it all in a weekend or give the leftover powder to a neighbor.
## The Step by Step (No Special Tools Needed)
Ok so here’s the actual flow. It takes about ten minutes of active work, and then you wait a day.
First, spray the inside of your silicone concrete planter mold with a thin layer of cooking spray. Wipe it with a paper towel so there isn’t a puddle of oil sitting in the bottom. Then, spoon your mixed concrete into the mold. Just glob it in there. You need to press it down firmly with your fingers or a spoon to eliminate air bubbles.
After you fill the mold, this is where the magic happens. When you get a bigger pot, you have to hollow out the center. Don’t fill the mold all the way full. Instead, fill it about halfway, then place a smaller object in the middle to make the hole for the plant. I honestly use a small yogurt cup wrapped in plastic wrap. Push it down into the wet concrete, and let the concrete rise up the sides. The weight of the yogurt cup will keep it in place. Let that sit for a full 24 hours. Not four hours. Not overnight if you’re in a rush. A full day. Then, the fun part is peeling the silicone back. It feels weird, like you’re breaking something, but it just pops out. And if it sticks, just wiggle the mold sides a little and let gravity do the work.
## Pop It Out and Finish the Pot (The Part Nobody Talks About)
Concrete is porous. It will absolutely suck the water out of your soil and ruin your plants if you don’t seal it. I learned this lesson the hard way when my snake plant started looking a little thirsty a week after I repotted it. You can buy a concrete sealer, but on a budget, you can just paint the inside of the finished planter with a couple of coats of cheap exterior masonry paint. Or, honestly, you can just use a clear paste wax on the outside. This helps the pot resist staining and gives it a slight sheen.
Once your pot is dry and sealed, you have to cure it. This means watering the pot itself before you put a plant in it. Just fill the empty concrete planter with water and let it sit for an hour. This stops the cement from leaching that initial alkaline burn into the roots of your succulents. You don’t need fancy tools for this, just a kitchen sink and some patience. It seems extra, but it’s the step that keeps your plants alive.
Also, don’t panic if you get tiny air holes in the surface. That’s normal. It actually gives the pot that rustic, handmade texture that makes people think you paid a lot for it. I kind of like the imperfections. They make each mold release a little different, so no two pots are exactly alike. That’s the charm of handmade garden crafts.
## My Two Cents on the Tic Tac Mold and Extra Tips
Honestly, the pot is so smooth when it comes out of the mold that you might want to display it on a shelf indoors instead of out in the rain. The geometric shape looks stunning with a little bit of direct sunlight hitting it. And because the silicone is so flexible, you can make the walls of the planter super thin, which gives your succulents more room for roots in less actual soil.
Here is a random but important tip: wear a dust mask when you mix the dry cement. I know, I know, it looks harmless. But you do not want that powder in your lungs. It creates a weird cement headache that lasts all day. It’s the kind of headache that makes you regret every life choice you made that led you to that moment. Just grab a bandana or an actual mask, it takes two seconds.
Oh, and clean your mixing bowl right away. If you leave the concrete paste in the tub, it will harden like a rock, and you will have to throw the whole bowl away. I am not joking. I have lost a very good Tupperware container this way. Just fill the bowl with water and let it soak while you’re waiting for the pots to dry. The next day, the leftover slurry washes right out.
Anyway, that’s the whole trick. You mix, you pour, you wait, and you pop. It’s way easier than you think, and the payoff is a bunch of cheap, high-quality succulent pots that look way more expensive than they are. Save this project for your next free afternoon, grab a cheap mold, and make a mess. Your succulents are probably looking for a better home anyway.
Leave a Comment