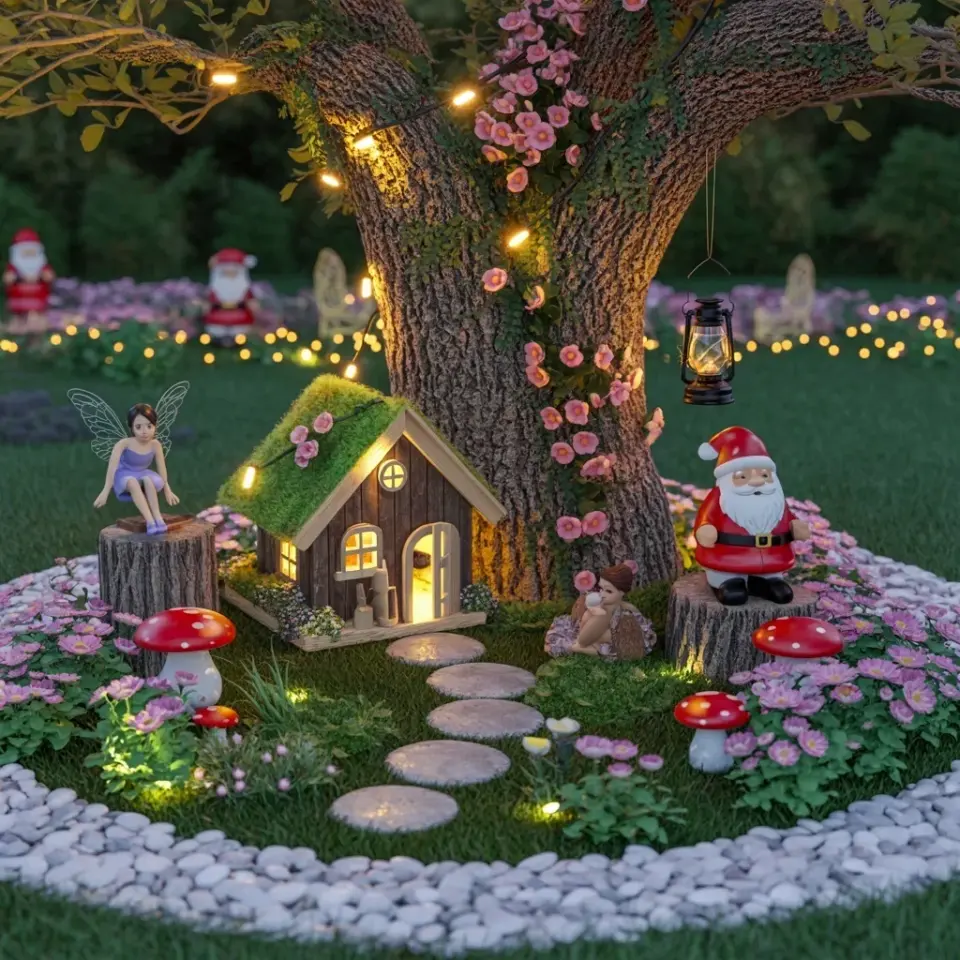
Spring is here, and I’m obsessed with these easy garden crafts and DIY terracotta pot ideas. Honestly, you can take a plain old terracotta pot and turn it into something that makes your porch look put together in less than an afternoon. Not gonna lie, I used to just buy whatever pre-painted pots were on sale at the garden center, but now I realize how much fun (and cheaper) it is to make your own.
The thing about terracotta is that it’s cheap, it’s everywhere, and it takes paint really well. Plus, you can mess up and nobody will know because you can just repaint it or throw a plant on top. Look, I’ve had projects go sideways before. One time I tried to do a complicated geometric pattern and ended up with something that looked like a potato with stripes. So I painted over it with solid white and called it “modern farmhouse.” See? Secret trick.
Anyway, the real magic happens when you think beyond just a solid color. You can add texture, patterns, even little messages. But let’s start with the basics.
Why Terracotta Pots Are Basically the Perfect Spring Canvas
Terracotta is porous. That’s usually a complaint, right? The clay soaks up water and can get crumbly over time. But for crafts, that’s actually great. Paint adheres to the rough surface without needing a primer in most cases. Plus, the warm orange-brown color is a neutral base that works with any spring palette. You can paint over it completely or leave some areas bare for that rustic contrast.
Here’s something I’ve learned the hard way: don’t skip cleaning the pot first. A quick wipe with a damp cloth removes the dust and loose bits. Let it dry fully. Then you can paint immediately. I use acrylic craft paint for most projects. It’s cheap, dries fast, and comes in every color imaginable. For outdoor pots that will sit in rain or direct sun, you’ll want to seal it later. But for a simple spring craft that lives on a covered porch? Acrylic holds up okay for a season.
The Easiest Paint Technique to Transform Plain Pots (No Artist Skills Needed)
Ok so here’s the technique I keep coming back to: dip painting. Or partial dipping. You basically hold the pot upside down and dip the bottom third into a container of paint. Then you let it drip off. It leaves a messy, organic line that looks intentional and artistic. No brushes needed. No steady hand required.
Another method that works shockingly well: use a sponge. Not a paintbrush. A damp kitchen sponge cut into a small rectangle. Dab it into paint and then dab it onto the pot. The texture hides mistakes. You get a speckled, almost stone-like finish. I did a set of three pots this way last year. They sat on my front steps through two rainstorms and still looked good by June. Not perfect, but good.
If you want crisp lines, use painter’s tape. But apply it to a dry pot, press the edges down firmly, and then paint with a foam brush. Pull the tape off while the paint is still wet. Otherwise the paint peels and you get jagged edges. Learned that one the messy way.
Adding Texture With Twine, Moss, and Other Natural Materials
This is my favorite part, honestly, because it makes the pots look expensive. Grab a roll of jute twine or cotton rope. Start at the rim and wrap it around the pot, gluing as you go with a hot glue gun. You can cover the whole pot or just a band in the middle. It adds a natural, earthy feel that pairs well with spring flowers like daffodils or pansies.
Another trick: glue preserved moss to the rim or bottom edge. I buy a bag of dried sheet moss from the craft store. Cut it into strips, attach with hot glue. It gives the pot a fairy garden vibe without any maintenance. Just don’t glue real moss. It dies and looks sad. Preserved moss stays green and soft.
Here’s a weird aside: I once tried to use actual pine cones from my yard. Glued them around a pot. They looked great for two weeks, then a squirrel attacked it. Apparently squirrels think glued pine cones are a personal buffet. So stick with twine and moss. Safer for your hard work.
How to Plant a Spring Container That Actually Lasts Through Summer
A painted pot still needs to function, you know? So don’t forget the drainage hole. If you painted over it, poke a toothpick through while the paint is wet. Or use a small drill bit if it’s dry.
For spring planting, I like a mix of cool-season annuals and something that will keep going when the heat hits. Think pansies and violas for now. They love the cool April weather. Then tuck in some trailing lobelia or a small geranium that will take over when the pansies fade. Add a spiky dracaena or a little grass for height. That’s the thriller, filler, spiller method. I know everyone talks about it, but it works.
And here’s a real life detail: use potting mix, not garden soil. Garden soil compacts in a pot and suffocates roots. Add a handful of slow-release fertilizer. Water deeply, then let it dry out before watering again. Terracotta dries out fast, so check the soil with your finger. If it’s dry up to your second knuckle, water it.
Arranging Your Painted Pots for Instant Curb Appeal
Now you’ve got a set of painted pots with fresh plants. Don’t just line them up like soldiers on the steps. Play with heights. Use pot stands, overturned empty pots, or stack a small pot on a larger pot. Create a cluster of three. Odd numbers look more natural.
Put the tallest pot in the back, the medium one in the middle, and the smallest one slightly to the side and forward. If all your pots are the same size, angle them differently. One facing left, one straight, one slightly right. It forces the eye to travel.
I keep a small watering can nearby even if it’s empty. It’s just for looks. But it completes the scene. Also a little sign or a painted rock with a message like “grow” or “hello spring.” Corny? Sure. But it makes me smile every time I walk up my path.
A Few Quick Tips for Sealing and Protecting Your Work
If you plan to leave your pots outside all season, seal them. I use a clear acrylic spray sealer in matte finish. It prevents paint from chipping and helps the terracotta resist water damage. Two light coats are better than one heavy one. Let each coat dry completely.
For pots that sit in direct sun, use paint labeled for outdoor use or mix a little exterior varnish with your acrylic paint. Yes, it changes the consistency a bit. It’s worth it to avoid peeling by July.
One more thing: bring the pots inside before a hard freeze. Terracotta cracks when water inside it freezes and expands. So if you live somewhere with late frosts, move them to a garage or indoors overnight. That’s not a craft tip, it’s a survival tip for your plants and your DIY work.
What to Do With Leftover Craft Supplies (Because We All Have Them)
I always end up with half a bottle of paint and leftover twine. Don’t throw them away. Use the paint to make color samples on a piece of cardboard for next time. Or paint the rims of plain pots you already own. The twine can wrap a plain glass jar into a vase. Or make a tiny twine ball ornament for a kitchen window.
Honestly, I keep a shoebox labeled “spring craft leftovers.” It’s ridiculous and a little embarrassing. But every year when I pull it out, I find a half-used tube of yellow paint and a spool of green twine. And then I don’t have to buy new stuff. It’s the most satisfying feeling.
So, which terracotta pot idea are you trying first? Dip painting? Twine wrapping? A colorful patterned pot? You don’t have to do all of them. Pick one. Grab a cheap pot from the hardware store for under a dollar. This weekend, give yourself an hour. You’ll end up with something handmade that makes your porch feel special. And it’ll cost way less than buying a pre-decorated pot from a boutique. Save this idea for later. You’ll thank yourself when you need a quick spring project.
#garden crafts #spring diy #terracotta pots #diy garden decor #seasonal crafts
Leave a Comment